

The best height to hang pictures is with the centre of the artwork 145cm to 152.5cm from the floor, and 152.5cm is the figure I use as a default. That is average eye level for most adults, and it is the height galleries and museums hang to, which is why a room feels right the moment you get it correct. To find where the hook goes rather than where the centre goes, use this formula: hook height = (height of the artwork divided by 2) + 152.5cm, minus the distance from the hanging wire to the top of the frame. Everything else on this page is the exceptions, hanging above a sofa or a bedhead, above a cabinet, up a staircase, in a hallway, and in a group. I have been framing and hanging my own prints for customers for more than a decade, and almost every hanging mistake I see is the same one, the art is too high.
Why 152.5cm, and when to break it
152.5cm, or roughly 60 inches, sits at average standing eye level. It is a convention rather than a law, and it exists so that a wall of art reads as one line across a room instead of a set of unrelated decisions. If everyone in your house is tall, nudge it up a few centimetres. If the room is one you are almost always seated in, a media room or a reading corner, drop it to about 145cm so the picture meets you where your eyes actually are.
The mistake to avoid is hanging to the wall rather than to the person. A big blank wall tempts you to float the art up into the middle of it, and the result always looks like it is drifting away from the furniture. Art belongs to the room and to the things below it, not to the plaster.
The formula, step by step in centimetres
Say your framed print is 100cm tall, and when you pull the hanging wire taut it sits 20cm below the top of the frame.
- Height of artwork, 100cm. Divide by 2, that is 50cm.
- Add 152.5cm. That gives 202.5cm, which is where the top of the artwork would sit if the wire had no give at all.
- Measure from the taut wire up to the top of the frame. In this example, 20cm.
- 202.5cm minus 20cm equals 182.5cm.
- Mark 182.5cm on the wall, and that is where your hook goes.
Two things people get wrong here. First, measure the wire under tension, because a slack wire will drop the picture two or three centimetres below where you wanted it. Second, mark the hook position, not the nail hole, they are not always the same point on a hook.
If you would rather watch it than read it, the same method is on our hanging guide video page.
Above a sofa, and the rest of the furniture rules
Once there is furniture below, the furniture wins. The centre of the art stays close to 152.5cm where it can, but the gap to what is underneath matters more than the number.
- Above a sofa: leave 15cm to 25cm between the top of the sofa back and the bottom of the frame. Any more and the art detaches from the sofa, any less and it looks like it is resting on the cushions.
- Above a bedhead: same gap, 15cm to 25cm, and I lean towards the lower end. A bedhead is tall, so the art usually ends up above 152.5cm centre, and that is fine.
- Above a cabinet, console or sideboard taller than 76cm: keep a gap of roughly 7cm to 25cm. Remember to account for anything sitting on top, a lamp or a tall vase, so the art is not competing with it.
- Above a dining table: there is no furniture back to clear, so go back to the 152.5cm centre and treat it as a normal wall.
- Width: aim for the artwork to be about two thirds the width of the furniture below. A 2.4m sofa wants something around 1.6m wide, which is usually a larger print than people expect.
Four prints, and where each one is hanging
These four were photographed in real rooms rather than on a blank studio wall, so they are a useful way to see the heights and gaps above working in practice.
Fisherman's Lookout - Byron Bay - New South Wales Australia

This is the sofa case, and it is the one most people get wrong. The frame sits with a hand span of clear wall between the sofa back and the bottom edge, so the two read as one block rather than two separate things. The oak frame is the safe choice above a lounge, it picks up the warm light in the image without adding another hard colour to the room. Best in a living room, above a two or three seater, on the long wall rather than the narrow one.
Soul Surfing - Surfers Paradise, QLD - Australia

Above a dining table there is no sofa back to clear, so this one is hung straight to the 152.5cm centre and it reads correctly from a standing position and from a chair. The light oak frame is doing a lot of the work, it keeps a dark, heavy wave image from weighing the room down. Best in a dining room or a kitchen, on the wall you see as you walk in.
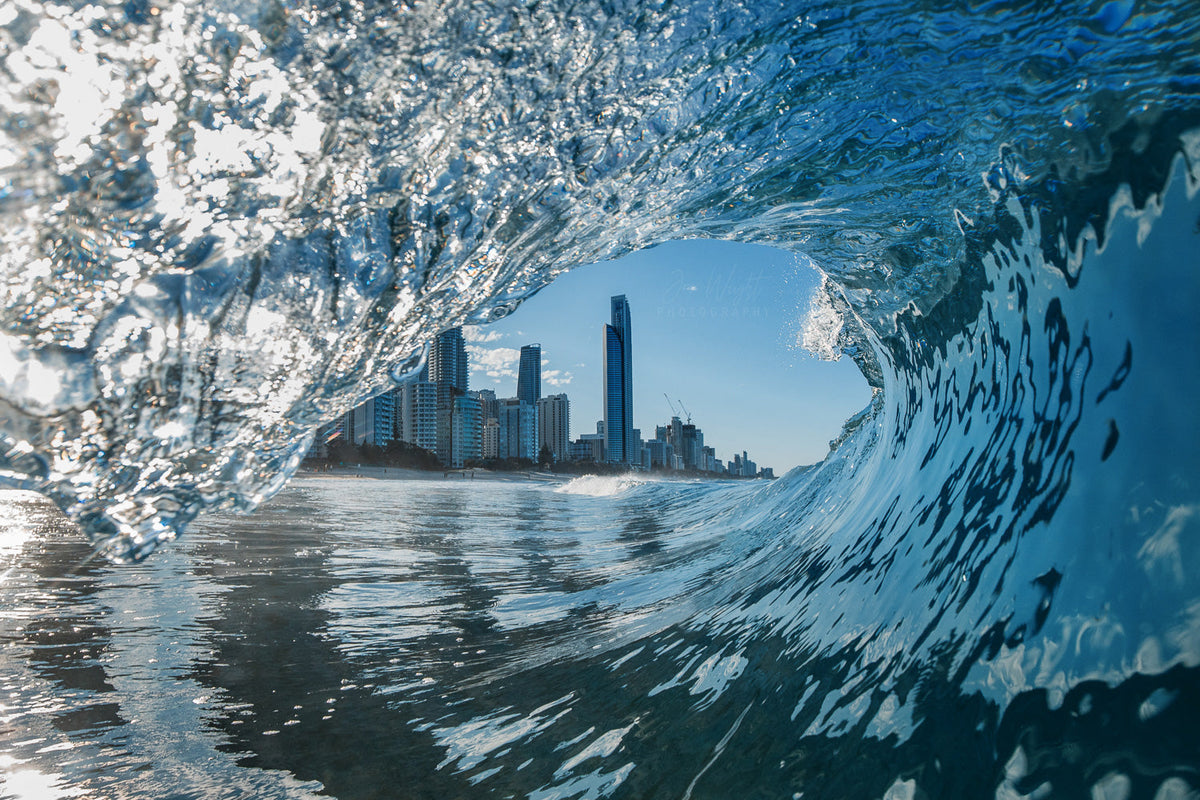
Surfers Paradise Skyline - Surfers Paradise, QLD Australia

A panorama is the easiest shape to hang above a bed, because a wide, shallow image fills the width of the bedhead without climbing too far up the wall. The centre here sits above 152.5cm, which the height rule allows once a tall bedhead is in the way. Best above a queen or king bed, or on any wall that is wider than it is tall.
Bondi Icebergs Aerial - Sydney - NSW, Australia

This is the console case, and note how the frame clears the vases rather than the tabletop. That is the rule in practice, you hang above the tallest thing on the furniture, not above the furniture itself. It is also a portrait image in a narrow spot beside a staircase, which is exactly where a tall shape earns its keep, and it sets the line the rest of the stairwell can follow. Best above a console in an entry, at the bottom of a stairwell, or on any wall taller than it is wide.
Groups, staircases and hallways
For a group of pictures, treat the whole arrangement as one picture. Lay the pieces out on the floor first, set the gaps you want between them, usually 5cm to 8cm for a tight gallery wall, then measure the total height of the block and run the formula on that number. The centre of the block lands at 152.5cm, and every individual frame falls where it falls.
On a staircase, use the same formula but measure 152.5cm up from the stair tread directly below each piece, so the line of art climbs at the same angle as the stairs. In a hallway you are always walking past and never standing back, so vertical or portrait images suit it better, and a tall frame makes a narrow corridor feel taller.
Size, orientation and the shape of the wall
Height is only half of it. Before you hang anything, get the size right, because no formula rescues a print that is too small.
- Aim for the artwork to fill 60 to 75 percent of the available wall space. A 3m wall wants something between 1.8m and 2.25m wide, as a single piece or as a group.
- Match the shape of the wall. Landscape and panorama images for wide walls, above sofas, beds and sideboards. Portrait for hallways, the space beside a doorway, and narrow returns.
- Cut the shape out of butcher paper or mark it with painter's tape on the wall before you commit. Two minutes of tape has saved a lot of unnecessary holes.
- Frames add to the finished size. A mat and a frame can add 10cm to 20cm on every edge, so check the framed dimensions rather than the image dimensions on the size and price guide.
If you have not settled on a finish yet, framed, canvas or acrylic walks through how each one behaves on a wall, and styling ocean photography for a coastal home goes room by room. Every product page also has a View In Room tool, so you can hold your phone up to the wall and see the actual size in place before you order.
Hooks, brackets and the boring part that matters
What you hang it on depends on four things, the size and weight of the piece, whether the wall is brick or plasterboard, whether there is a stud where you need one, and the load rating of the hook.
- Fix into a stud wherever you can, especially for anything large or heavy. It is the strongest fixing available to you and it costs nothing extra.
- No stud, use expanding picture hooks rated well above the weight of the piece. They spread the load inside the plasterboard cavity instead of relying on the sheet itself.
- Small to medium framed prints and canvases can go on adhesive picture hanging strips, but buy the ones rated for artwork, not general purpose hooks, and use two rather than one.
- Always check the load rating, and give yourself margin. A hook at its limit on a warm day is a hook that lets go.
Tools worth having on hand, a tape measure, a pencil and eraser, a spirit level or a level app, and a hammer. That is the whole kit.
All of my prints arrive ready to hang with the hanging hardware already fitted, and the framed pieces come wired, so the only measuring you need to do is the wall. There are more details on finishes on the frame info page.
Find something for the wall
If you have the measurements and now just need the picture, the Gold Coast prints collection is where most people start. For a wide wall above a sofa or a bed, the panorama collection is the place to look, and the Byron Bay and Bondi collections hold the newer coastal work featured above. Everything is Australian made, made to order, and arrives ready to hang with fast tracked shipping Australia wide.


